How to Photograph Epic Sunrises
Sunrises and sunsets are the gold standard for photographers. Golden hour makes for some incredible lighting conditions that can turn an ordinary snapshot into an award winner from the same point of view. But how do I know if I should go out for sunrise or sunset?
One of the hardest things about being a hobbyist landscape photographer is predicting the weather. Since I work full time and photograph as a hobby, I don’t have the time to spend every morning out chasing the light. Even with all the modern technology we have, figuring out if sunrise and sunset are worth going out to shoot is 50% pure luck. However, there are a three steps to you can take to increase the odds you’ll catch that light.
Step 1 // Check the Weather:
If you think there is any chance of going out for sunrise, you need to prep the night before. Start by checking the forecast. Not just the forecast for the time of sunrise, but the weather patterns leading up to sunrise. You want some clouds to catch the sun as it rises but it can’t be just any clouds, you need the right clouds. The right clouds for sunrise means the sky is clear east of you so the sun can get under the clouds that are where you will be shooting. There are many tools to use to check this. SunsetWX is the most user friendly and free resource. I also really like SunriseSunset.io.

Sunset WX’s US sunrise quality map
Sunset WX gives you a graphic forecast for sunrise and sunset quality. Warmer colors are better quality sunrises and sunsets. It defaults to the US, but there is also a European and Worldwide map to aid you wherever you are. For anyone who wants some reminders, there is an app for that. If you use The Photographer’s Ephemeris (TPE) you can enable their Skyfire Subscription to see the same information interpreted into a percentage forecast based on predetermined locations. It does require the highest subscription level to enable notifications.

The Skyfire Subscription’s forecast for the National Mall in DC. (Note I use the highest subscription level that gives the longest forecast)
My experience is that you can only predict accurately within about 9-12 hours. The forecast beyond that timeframe changes enough to make it an unreliable predictor.
Once I’ve checked it the night before, I check it again in the morning when I get up. If the forecast is marginal or has changed dramatically, I get a second opinion. The best resource in the US is the National Weather Service. Their satellite imagery is really helpful when trying to figure out where clouds are and where they’re going. You can also use tools meant to help astronomers forecast the quality of skies for observing stars. Skippy Sky gives you great forecasts that include High-,Middle-, and Low-Cloud forecasts and Clear Sky Charts are generated for locations all over. All of these forecast tools just help me to decide if it’s worth going out. They really all just help reinforce a gut feeling. Sometimes they all say its going to be bad and I still go out. My mantra is “When in doubt, go out!”
After I’ve checked the weather, I make sure that all my gear is in order – charged batteries, tripod packed, and all my gear ready to go. The key is being able to pick up your bag and walk out in the morning. You don’t want any impediments when you’re groggily dragging yourself out of bed before 6:00am.


Step 2 // Get There Early:
This is the most important part. Get to your location early.
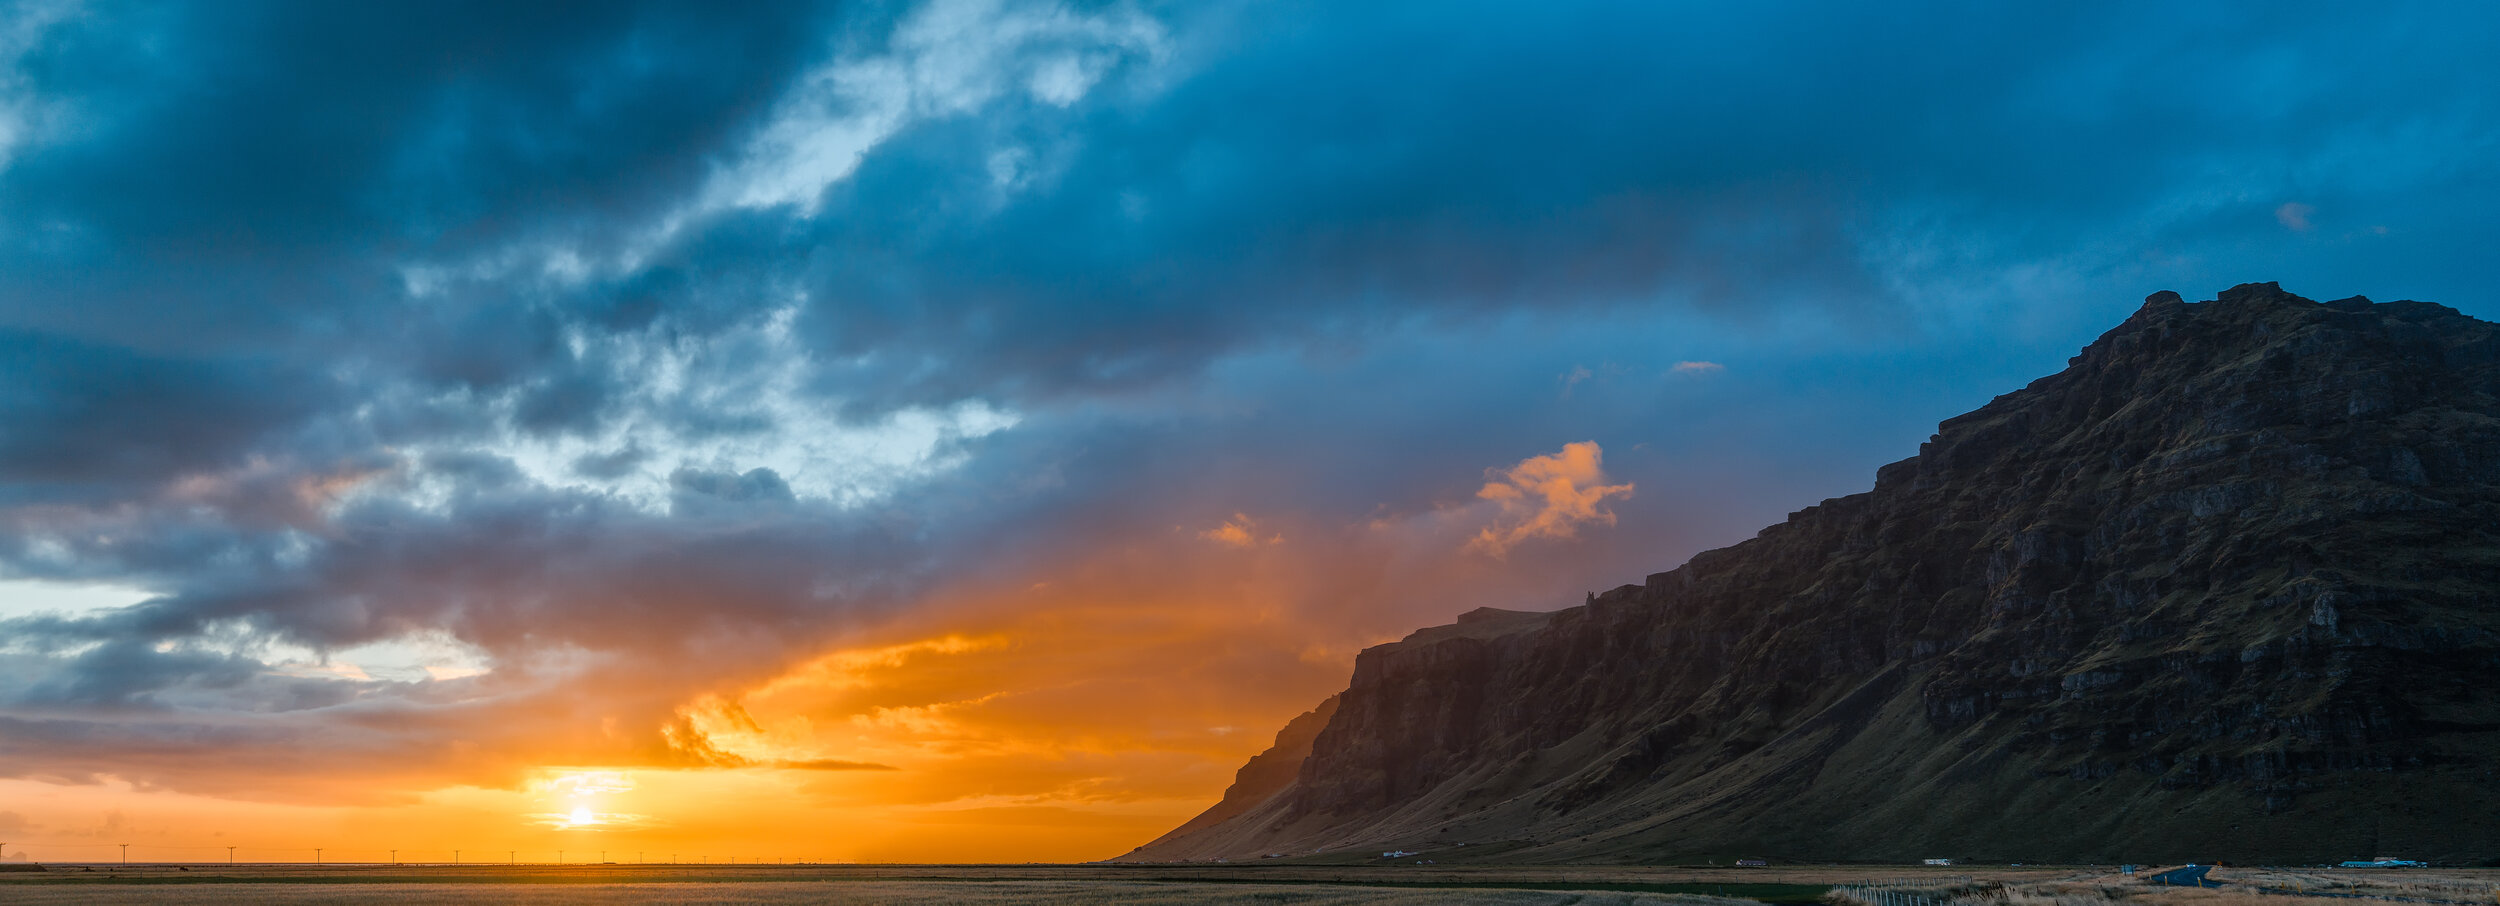
Plan to be in place an hour before sunrise. Depending on the cloud conditions, the sky can start to catch color up to an hour before the sun breaks the horizon. In many cases those early moments of light are the most magical. This is when you get the magical pinks in the sky. The oranges and reds come closer to the sun breaking the horizon. If you’re unfamiliar with where you’re going give yourself more time. Sunrise pays to be early. You’ll never be hurting for something to shoot.
Step 3 // Be Ready for the Light to Change:
3A// You should always have an awareness of where the sun will come from. Using the aforementioned TPE app, you can know exactly where the sun will be and how it will move.
Being ready for the light also means knowing how to handle different conditions. If you’re a proponent of using filters like I am, make sure you have them if you need them. If you’re one to bracket and blend them together, make sure you’ve got the setup right in your camera so it doesn’t get in the way. Capturing the image comes down to being ready.

TPE’s free web app
3B// When you get to your location keep an eye to the sky. Watch the way the clouds are moving with respect to where the sun will be. The last thing you want to do is to get into a spot and realize the light isn’t anywhere close to where your subject will be. If you have a specific landmark in mind, have a second spot as a backup if the clouds are in a different part of the sky. These two images from Patagonia are a great example. I this case, I had two different views in mind. Luckily on this morning the light went off in both locations.


3C// Don’t get too focused on your camera. You should be paying more attention to the light and the environment. Depending on the conditions you may only have a minute or two to catch amazing light before it disappears. This is especially true in marginal conditions. This series of images, from Freedom Plaza in DC, the color in the sky started appearing at 6:30 and was gone by 6:45, a full 15 minutes before sunrise.


To reiterate: 1/ Check the weather 2/ Get there early and 3/ Be prepared for the sky to change
There are a lot of people out there who probably have a much more scientific approach to this that I do but I find that its enjoyable to have a bit of mystery and chance to the process. It makes the final product much more rewarding. Check out some of the images below I’ve captured using the above methods:


If you’re looking for tips on editing landscape photography, I highly recommend Greg Benz’s tutorials and his luminosity masking plugin for photoshop.